A receiving inspection checklist for server memory, SSDs, and HDDs should include visual inspection for damage, label verification against PO, dimensional and weight checks, barcode scanning, electrical testing (e.g., MemTest86 for memory, manufacturer diagnostics for drives), firmware version comparison, and compatibility verification with the server platform. Document all results and quarantine non-conforming items.
Key takeaways
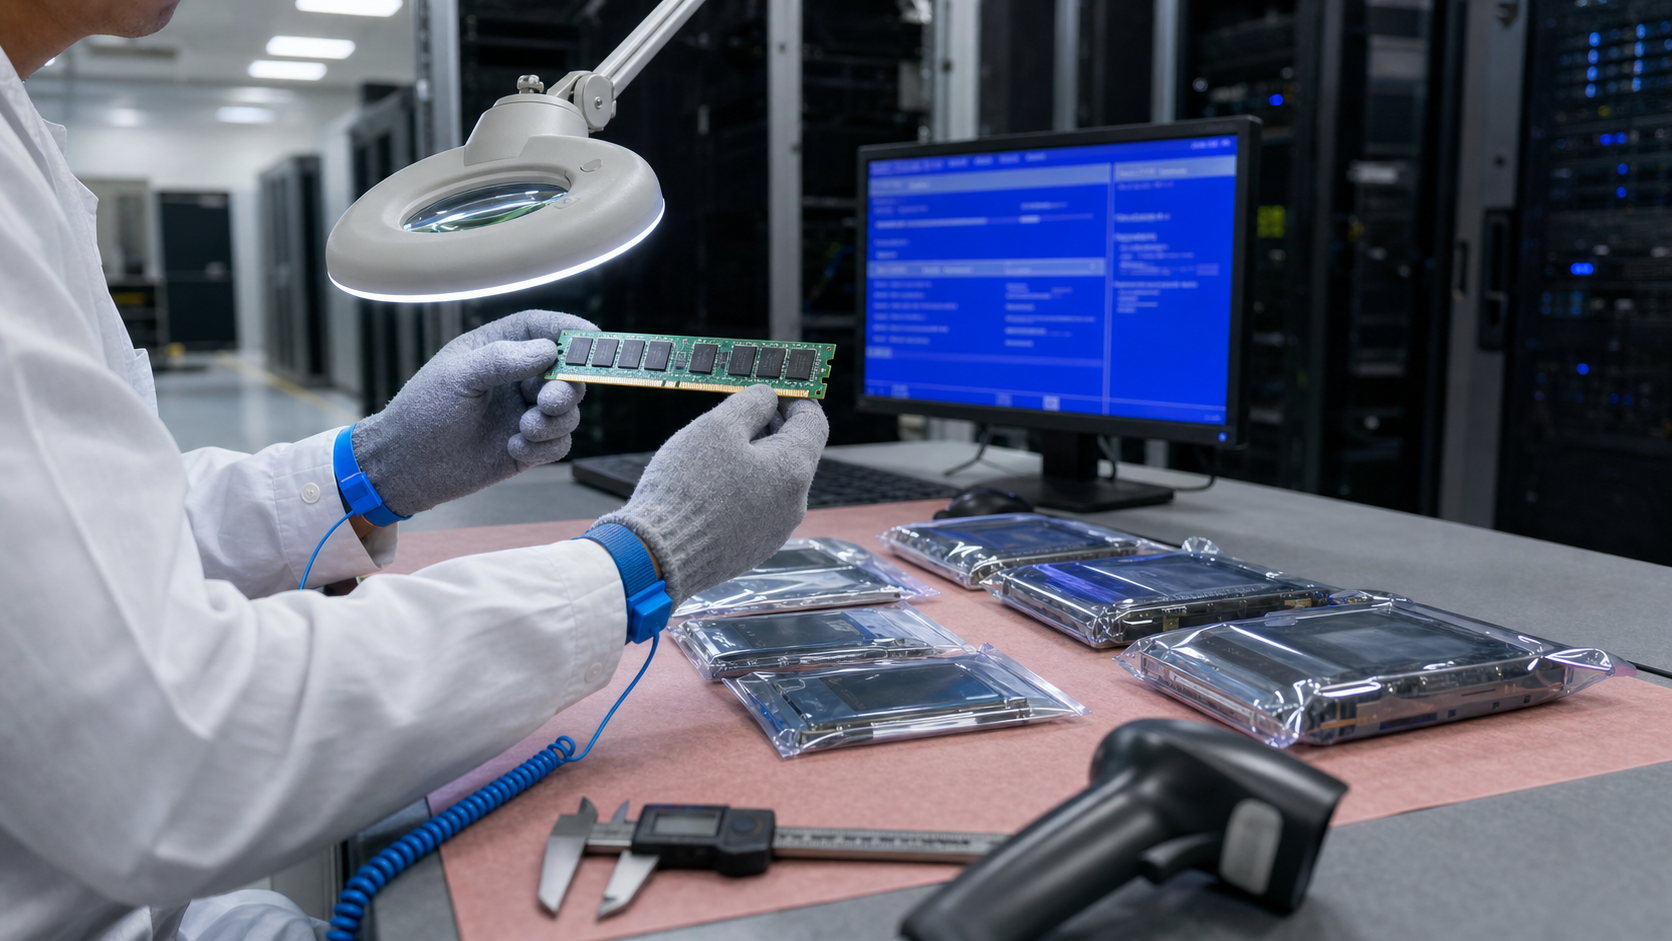
- Always perform receiving inspection in an ESD-safe environment.
- Verify labels, dimensions, and weight to detect counterfeits.
- Run electrical tests and firmware checks to ensure functionality and compatibility.
Why Receiving Inspection Matters
Receiving inspection is the first line of defense against counterfeit, damaged, or non-compliant components. For server memory, SSDs, and HDDs, a systematic check prevents costly downtime and data loss. This guide covers visual inspection, label verification, electrical testing, and documentation review, all based on industry standards and manufacturer recommendations.
Always consult the latest manufacturer datasheet and server platform compatibility list before inspection. Some tests, like firmware version checks, require specific tools or server BIOS access. The checklist below is a starting point; adapt it to your organization's quality policies and the specific products received.
Pre-Inspection Preparation
Before opening any package, ensure the work area is clean, ESD-safe, and well-lit. Have the purchase order (PO), manufacturer datasheets, and a compatible test server or workstation ready. For SSDs and HDDs, note that some enterprise drives require a specific power-on sequence or a dedicated backplane.
Verify that the shipping container is intact and free of damage. Photograph the outer packaging for records. Check that the number of boxes matches the packing slip. For large orders, sample inspection per ANSI/ASQ Z1.4 may be appropriate, but for critical server components, 100% inspection is recommended.
Visual Inspection of Packaging and Labels
Examine each component's anti-static bag or tray for tears, punctures, or discoloration. For memory modules, check that the gold contacts are clean and free of scratches. For SSDs and HDDs, inspect the connector pins for bending or corrosion. Any physical damage should be documented and reported immediately.
Labels must match the PO: part number, serial number, revision, and date code. Look for signs of tampering, such as double-stick tape, misaligned text, or poor print quality. Counterfeit products often have slight font or color variations. Use a magnifying glass or smartphone camera to compare labels with known genuine samples if available.
Dimensional and Weight Verification
Measure the dimensions of each component using a calibrated caliper. For example, a standard DDR4 RDIMM is 133.35 mm long, but some low-profile modules are shorter. SSDs come in 2.5-inch, U.2, or M.2 form factors; verify thickness and connector type. HDDs must match the specified height (e.g., 15mm for 3.5-inch enterprise drives).
Weigh the component on a precision scale and compare to the manufacturer's specification. Significant deviations may indicate a counterfeit or wrong product. Record measurements in a log for traceability. Note that some manufacturers allow slight tolerances; check the datasheet for acceptable ranges.
Label and Barcode Scanning
Scan each barcode or QR code with a handheld scanner or mobile app. Verify that the decoded data matches the printed label and the PO. For memory modules, the part number should correspond to the correct speed, rank, and capacity. For SSDs and HDDs, check that the model number and firmware version are as ordered.
Some manufacturers use encrypted barcodes that require a proprietary reader. In such cases, contact the supplier for verification. If a barcode fails to scan, do not assume the component is defective; it may be a printing issue. However, log the incident and request a replacement if multiple units fail.
Electrical and Functional Testing
For memory modules, install them in a known-good test server or motherboard. Boot to BIOS/UEFI and verify that the total capacity, speed, and timings match the specification. Run a memory stress test (e.g., MemTest86) for at least one pass to detect errors. For ECC memory, check that error correction is enabled and no uncorrectable errors occur.
For SSDs and HDDs, connect the drive to a test system using the appropriate interface (SATA, SAS, NVMe). Use the manufacturer's diagnostic tool if available (e.g., Samsung Magician, Intel MAS, or Seagate SeaTools). Check that the drive is detected with the correct capacity, firmware version, and SMART attributes. Perform a short self-test (DST) and review the log for any warnings or failures.
Firmware and Compatibility Checks
Firmware versions are critical for performance and security. Compare the installed firmware with the latest version on the manufacturer's support site. Some platforms require a minimum firmware revision for compatibility. For example, certain NVMe SSDs may need a firmware update to work with a specific server model.
Check the server vendor's compatibility matrix (e.g., Dell EMC, HPE, Lenovo) to ensure the component is listed. Using unqualified memory or drives can cause system instability or void warranty. If the component is not on the list, contact the server vendor for guidance. Note that compatibility can change with BIOS updates.
Documentation and Record Keeping
Create a receiving report for each shipment, including the date, PO number, component serial numbers, inspection results, and any discrepancies. Attach photos of damaged items or label anomalies. This documentation is essential for returns, warranty claims, and audits. Store records in a secure digital repository with access controls.
For traceability, assign an internal asset tag to each component and update your inventory system. If a component fails inspection, quarantine it in a labeled ESD-safe bag and initiate a non-conformance report (NCR). Communicate with the supplier promptly to arrange replacement or credit. Follow up on corrective actions to prevent recurrence.
Special Considerations for Enterprise SSDs and HDDs
Enterprise drives often have additional features like power-loss protection (PLP), self-encrypting drive (SED) capabilities, or specific endurance ratings. Verify that these features are present by checking the model number and using the manufacturer's utility. For SED drives, ensure that the cryptographic erase function works if required.
For HDDs, listen for unusual noises during spin-up and seek operations. Use a vibration isolation mount if testing multiple drives. For SSDs, monitor temperature during testing; excessive heat may indicate a defect. Remember that some enterprise drives require a specific power-on hours (POH) count to be considered new; check with the supplier if the POH is non-zero.
Frequently asked questions
What tools are needed for receiving inspection of server memory?
You need an ESD-safe workstation, a compatible test server, a calibrated caliper, a precision scale, a barcode scanner, and memory testing software like MemTest86. For SSDs and HDDs, use the manufacturer's diagnostic tool (e.g., Samsung Magician, Intel MAS, Seagate SeaTools).
How can I detect counterfeit server memory?
Look for label inconsistencies (font, alignment, print quality), verify part numbers and serial numbers against the manufacturer's database, check dimensions and weight, and run memory tests to detect errors. Genuine modules have consistent build quality and pass extended stress tests.
Should I test every SSD or HDD upon receipt?
For critical enterprise deployments, 100% testing is recommended. At minimum, perform a visual inspection, label verification, and a short self-test (DST). For large batches, sample testing per ANSI/ASQ Z1.4 may be acceptable, but ensure the sample size is statistically valid.
Verification sources
For a purchase decision, verify the current manufacturer datasheet and the target server or storage platform guide.